How to Make Homemade Drinkable Yogurt Easy
There’s something incredibly satisfying about enjoying a glass of creamy, refreshing Homemade Drinkable Yogurt made right in your kitchen. This smooth, tangy beverage is not only delicious but also packed with probiotics and nutrients to support your gut health and energy levels. Learning to make this at home allows you to control the ingredients, customize flavors, and have a healthy snack ready any time you want. Whether you’re new to yogurt making or a kitchen enthusiast, this recipe will guide you step-by-step to perfect your own batch of Homemade Drinkable Yogurt effortlessly.
Why You’ll Love This Recipe
- Simple Ingredients: You only need a few basic pantry items that you likely already have, making it easy and economical.
- Customizable Flavor: Tailor your drinkable yogurt with your favorite fruits, sweeteners, or spices to suit your palate.
- Health Benefits: Packed with probiotics, it supports digestion and adds beneficial bacteria to your diet naturally.
- Quick Preparation: The process is straightforward and takes just a couple of hours plus fermentation time to enjoy.
- Versatile and Refreshing: Perfect as a snack, breakfast, or post-workout boost that’s both hydrating and nutritious.
Ingredients You’ll Need
Getting started with making Homemade Drinkable Yogurt is incredibly easy because it relies on wholesome, essential ingredients that each play a role in creating that velvety texture and tangy flavor you love.
- Whole Milk: The creamy base that gives the yogurt its rich texture and smooth mouthfeel.
- Plain Yogurt Starter: Use plain yogurt with active live cultures to kickstart fermentation and develop probiotics.
- Sweetener (optional): Honey, maple syrup, or sugar to add balance to the tanginess without overpowering.
- Water: To thin the yogurt to a drinkable consistency while keeping it light and refreshing.
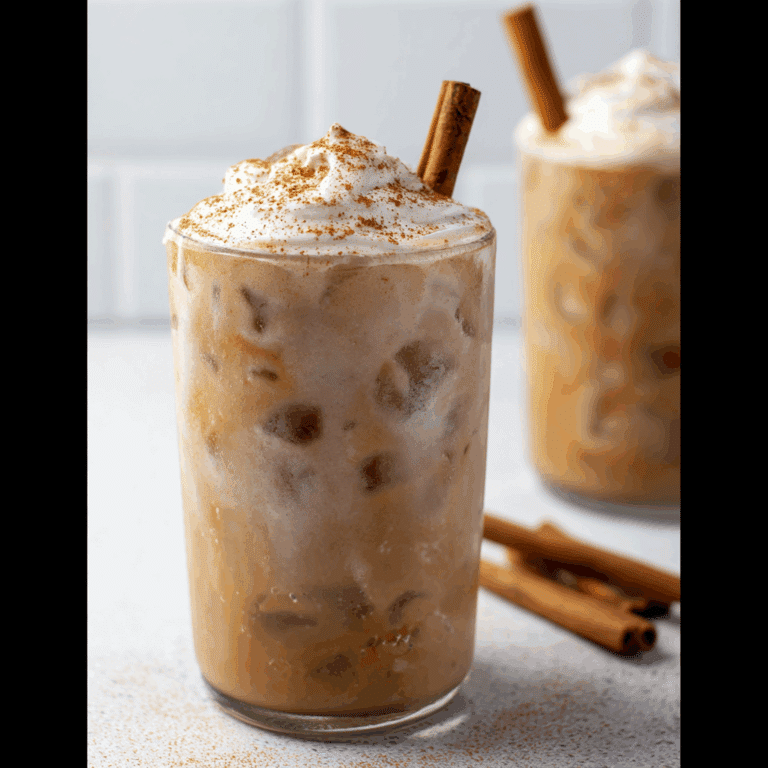
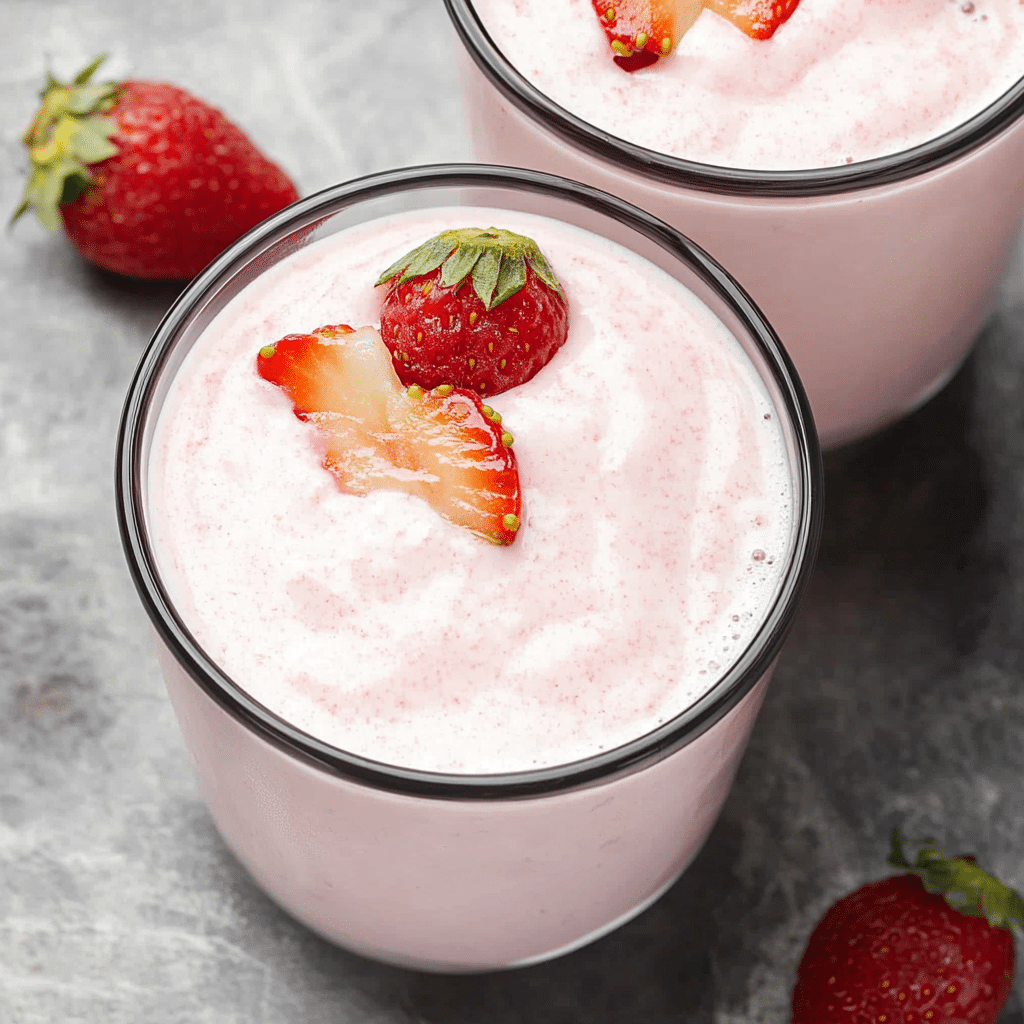
- Flavorings (optional): Fresh fruits, vanilla extract, or cinnamon to customize and brighten the taste.
Variations for Homemade Drinkable Yogurt
One of the best things about Homemade Drinkable Yogurt is how easily you can adapt it to suit dietary preferences, seasonal ingredients, or flavor cravings. Try these variations to keep your yogurt exciting and personalized.
- Fruit-Infused: Blend in fresh berries, mango, or peaches for a naturally sweet and colorful twist.
- Dairy-Free Option: Use coconut milk or almond milk with a dairy-free starter for a vegan-friendly drink.
- Spiced Version: Add a pinch of cardamom, nutmeg, or vanilla for a cozy, aromatic experience.
- Probiotic Boost: Incorporate a powdered probiotic supplement along with yogurt starter for enhanced digestive benefits.
- Low-Sugar: Skip sweeteners and add a splash of lemon juice or cucumber for a tangy, refreshing low-calorie option.

How to Make Homemade Drinkable Yogurt
Step 1: Heat the Milk
Begin by gently heating your whole milk on the stove until it reaches about 180°F (82°C). This process kills any unwanted bacteria and prepares the milk proteins for fermentation, ensuring a smooth consistency.
Step 2: Cool the Milk
Allow the heated milk to cool down to about 110°F (43°C). This is the optimal temperature range for the live cultures in your starter yogurt to thrive without being damaged by heat.
Step 3: Add the Yogurt Starter
Mix a small amount (about 2 tablespoons) of your plain yogurt starter into a cup of cooled milk to create a smooth blend. Then stir this mixture back into the larger batch of milk, making sure it’s fully combined.
Step 4: Incubate the Yogurt
Cover the mixture and keep it warm at around 110°F (43°C) for 6 to 12 hours. You can use a yogurt maker, warm oven, or insulated container. This fermentation period helps develop the tangy flavor and beneficial probiotics.
Step 5: Thin the Yogurt
Once fermentation is complete and your yogurt has thickened, stir in cold water gradually until you reach the desired drinkable consistency. Customize this step depending on how thick or thin you prefer your yogurt drink.
Step 6: Chill and Flavor
Refrigerate your drinkable yogurt for a couple of hours before serving. At this point, add flavors like honey, vanilla, or fruit purees to taste, giving your homemade creation a perfect finishing touch.
Pro Tips for Making Homemade Drinkable Yogurt
- Use Fresh Milk: Fresh, high-quality milk yields a creamier and better-flavored yogurt base.
- Accurate Temperature: Use a kitchen thermometer to ensure you hit the right milk heating and incubation temperatures for optimal fermentation.
- Sanitize Equipment: Clean all jars and utensils thoroughly to avoid contamination and off flavors.
- Test Fermentation Time: Taste the yogurt after 6 hours and every hour after to find your perfect tang level.
- Reserve Starter: Always save some homemade yogurt as the starter for your next batch to keep the cultures alive and thriving.
How to Serve Homemade Drinkable Yogurt
Garnishes
Top your drinkable yogurt with fresh mint leaves, sliced almonds, or a sprinkle of chia seeds to add texture and an inviting visual appeal.
Side Dishes
This yogurt pairs wonderfully with light snacks like homemade granola, fresh fruit salads, or even spicy vegetable samosas for a balanced and satisfying treat.
Creative Ways to Present
Serve your Homemade Drinkable Yogurt in mason jars with colorful straws or use ice cube molds to create frozen yogurt pops—both ideas are fun and convenient for on-the-go enjoyment.
Make Ahead and Storage
Storing Leftovers
Keep your homemade drinkable yogurt in a sealed glass container in the refrigerator where it stays fresh for up to one week, maintaining its flavor and probiotic benefits.
Freezing
You can freeze drinkable yogurt in ice cube trays for up to a month; they make fantastic additions to smoothies or can be thawed for a chilly snack.
Reheating
Avoid reheating as heat can kill the beneficial probiotics. Instead, serve cold or gently mix into smoothies without excessive warming.
FAQs
Can I use low-fat or skim milk to make drinkable yogurt?
Yes, you can use low-fat or skim milk, but keep in mind that the texture will be less creamy and more watery compared to whole milk.
How long does homemade drinkable yogurt last in the fridge?
Properly refrigerated, it lasts about 5 to 7 days, but it’s best enjoyed fresh within the first few days for maximum probiotic benefit and flavor.
Can I use store-bought yogurt as a starter?
Absolutely! Just make sure it contains live active cultures and is plain without added flavors or sweeteners.
What if my yogurt turns out too sour?
Reduce the fermentation time next batch or add a bit of sweetener and fruit when serving to balance the acidity.
Is Homemade Drinkable Yogurt vegan?
Traditional recipes are dairy-based, but you can create dairy-free versions using plant-based milks and suitable vegan yogurt starters.
Final Thoughts
Making Homemade Drinkable Yogurt is a rewarding and surprisingly simple kitchen project that delivers tasty, nutritious results you can enjoy anytime. With just a few ingredients and a little patience, you’ll have a healthy snack that’s perfectly tailored to your flavor preferences. So go ahead, give this recipe a try—your taste buds (and gut!) will thank you.
PrintHomemade Drinkable Yogurt

Homemade Drinkable Yogurt is a smooth, tangy, and probiotic-rich beverage made from whole milk and plain yogurt starter. This refreshing and nutritious yogurt drink can be customized with various flavors and sweeteners to suit your taste, providing a healthy snack or breakfast option that supports digestion and energy.
- Prep Time: 15 minutes
- Cook Time: 0 minutes
- Total Time: 7 to 12 hours (including fermentation)
- Yield: Approximately 4 servings (4 cups) 1x
- Category: Beverages
- Method: Fermentation
- Cuisine: International
- Diet: Gluten Free
Ingredients
Base Ingredients
- 4 cups whole milk
- 2 tablespoons plain yogurt starter with active live cultures
- 1 cup water (to thin the yogurt, adjust to desired consistency)
Optional Sweeteners and Flavorings
- Honey, maple syrup, or sugar (to taste)
- Fresh fruits (e.g., berries, mango, peaches)
- Vanilla extract (1 teaspoon)
- Cinnamon, cardamom, or nutmeg (a pinch)
Instructions
- Heat the Milk: Gently heat the whole milk on the stove until it reaches about 180°F (82°C) to kill any unwanted bacteria and prepare the milk proteins for fermentation, ensuring a smooth consistency.
- Cool the Milk: Allow the heated milk to cool to approximately 110°F (43°C), the optimal temperature for yogurt cultures to thrive without heat damage.
- Add the Yogurt Starter: Mix 2 tablespoons of plain yogurt starter into a cup of cooled milk to make a smooth blend, then stir this mixture back into the larger batch of milk until fully combined.
- Incubate the Yogurt: Cover the mixture and keep it warm at around 110°F (43°C) for 6 to 12 hours using a yogurt maker, warm oven, or insulated container to develop the tangy flavor and probiotics.
- Thin the Yogurt: After fermentation, gradually stir in cold water until reaching your preferred drinkable consistency.
- Chill and Flavor: Refrigerate the yogurt for a couple of hours before serving, then add optional flavors like honey, vanilla, or fruit purees to taste.
Notes
- Use fresh, high-quality whole milk for creamier and better-flavored yogurt.
- Use a kitchen thermometer to monitor heating and incubation temperatures accurately.
- Sanitize all jars and utensils to prevent contamination and off flavors.
- Taste the yogurt starting at 6 hours of fermentation and every hour after to achieve your desired tanginess.
- Reserve some homemade yogurt to use as a starter for your next batch, maintaining live cultures.
Nutrition
- Serving Size: 1 cup (240 ml)
- Calories: 150
- Sugar: 12 g
- Sodium: 100 mg
- Fat: 8 g
- Saturated Fat: 5 g
- Unsaturated Fat: 2 g
- Trans Fat: 0 g
- Carbohydrates: 12 g
- Fiber: 0 g
- Protein: 8 g
- Cholesterol: 30 mg
Keywords: homemade yogurt, drinkable yogurt, probiotic drink, fermented yogurt, healthy snack, gut health, yogurt recipe