How to Make Homemade Vanilla Ice Cream Fast
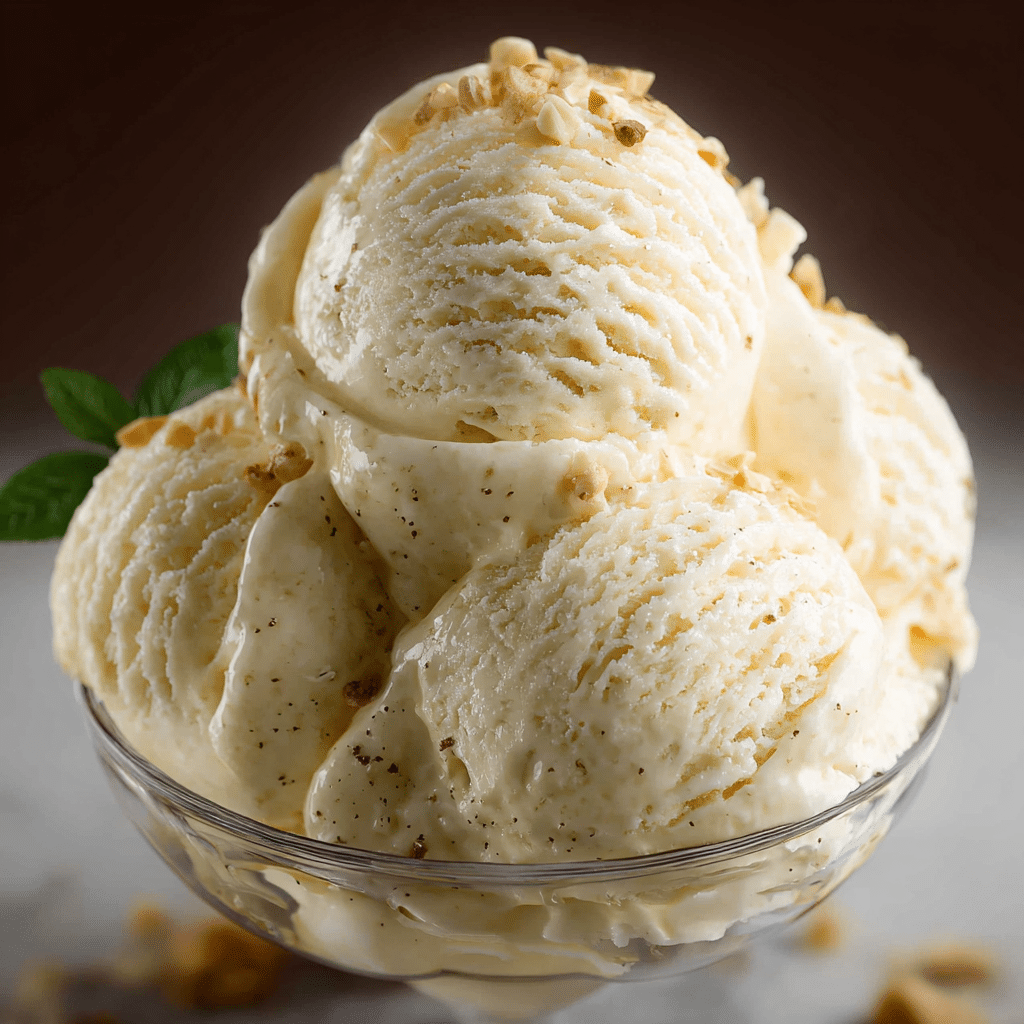
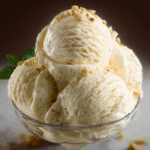
If you’ve ever wanted to create a dessert that’s both simple and irresistibly delicious, this quick and easy Homemade Vanilla Ice Cream recipe is exactly what you need. Creamy, smooth, and bursting with natural vanilla flavor, it’s perfect for satisfying your sweet cravings fast without complicated steps or special equipment. Whether you’re making it for a family treat or a last-minute dessert, this recipe will quickly become your go-to whenever the ice cream mood hits.
Why You’ll Love This Recipe
- Super Fast: Ready in under 30 minutes, so you don’t have to wait long to enjoy your creamy treat.
- Simple Ingredients: Uses pantry staples, making it easy to whip up anytime without a special grocery run.
- Rich and Creamy Texture: Smooth, velvety consistency thanks to the perfect balance of cream and vanilla.
- Customizable: A fantastic base that can be easily adapted with mix-ins or toppings.
- No Fancy Equipment: Can be made with or without an ice cream maker, making it super accessible.
Ingredients You’ll Need
This Homemade Vanilla Ice Cream is built on a few simple but vital ingredients, each playing a unique role in bringing out that classic creamy taste and luscious texture you’ll love.
- Heavy Cream: Provides rich, creamy body and smooth mouthfeel essential to great ice cream.
- Whole Milk: Adds lighter creaminess and balances the texture without heaviness.
- Granulated Sugar: Sweetens and slightly softens the ice cream for a perfect scoop.
- Pure Vanilla Extract: Delivers the unmistakable vanilla flavor that defines this recipe.
- Salt: Enhances all the flavors and keeps it from tasting flat.
Variations for Homemade Vanilla Ice Cream
Feel free to make this Homemade Vanilla Ice Cream your own! This recipe is wonderfully adaptable and makes it easy to suit your dietary needs or flavor preferences without any fuss.
- Vegan Version: Substitute coconut cream and almond milk to keep it dairy-free but still creamy.
- Extra Vanilla Punch: Add a vanilla bean pod or use high-quality vanilla bean paste for an even more intense flavor.
- Mix-ins Magic: Fold in chocolate chips, crushed cookies, or fresh berries during the last few minutes of churning.
- Healthier Twist: Swap sugar for natural sweeteners like honey or maple syrup for a subtle change.
- Spiced Vanilla: Add cinnamon or nutmeg to the base for a cozy, warming variation.

How to Make Homemade Vanilla Ice Cream
Step 1: Gather all your ingredients
Measure out heavy cream, whole milk, sugar, vanilla extract, and a pinch of salt, ensuring everything is fresh and ready to combine for optimal flavor.
Step 2: Mix the base
In a large bowl, whisk together the milk and sugar until the sugar dissolves completely, then stir in the heavy cream, vanilla extract, and salt until fully combined.
Step 3: Chill the mixture
Cover the mixture and refrigerate it for at least an hour. Chilling helps the flavors meld and allows the ice cream to churn more smoothly.
Step 4: Churn the ice cream
Pour your chilled base into an ice cream maker and churn according to your machine’s instructions, usually about 20-25 minutes, until it reaches a soft-serve consistency.
Step 5: Freeze to firm up
Transfer the churned ice cream to an airtight container and place in the freezer for at least two hours to set before serving.
Step 6: No ice cream maker?
If you don’t have an ice cream maker, pour the mixture into a shallow dish, freeze, and stir vigorously every 30 minutes for 2-3 hours to break up ice crystals and achieve creaminess.
Pro Tips for Making Homemade Vanilla Ice Cream
- Chill everything first: Keep your mixing bowl and utensils cold to speed up the freezing process and improve texture.
- Use pure vanilla: Choose high-quality vanilla extract or vanilla bean for authentic, vibrant flavor.
- Avoid over-churning: Stop churning once the mixture thickens to soft serve to prevent a dense texture.
- Don’t skip chilling the base: Well-chilled mixture freezes better and creates smoother ice cream.
- Store properly: Use airtight, freezer-safe containers to avoid ice crystals forming during storage.
How to Serve Homemade Vanilla Ice Cream
Garnishes
Sprinkle with freshly grated dark chocolate, a drizzle of caramel or berry sauce, or a few toasted nuts to add texture and flavor contrast that complements the creamy base.
Side Dishes
Pair your vanilla ice cream with warm desserts like freshly baked brownies, apple pie, or even a rich chocolate lava cake for an indulgent experience.
Creative Ways to Present
Serve scoops in waffle cones for a classic feel, shape into ice cream sandwiches using cookies, or create mini parfaits layered with fruit and crushed nuts for eye-catching treats.
Make Ahead and Storage
Storing Leftovers
Keep leftover Homemade Vanilla Ice Cream tightly sealed in a freezer-safe container to maintain its creamy texture and prevent freezer burn.
Freezing
Freeze ice cream in small batches if possible. Allow it to soften slightly at room temperature for 5-10 minutes before scooping to get that perfect creamy scoop.
Reheating
Ice cream is best served cold, but if it’s too firm, let it sit at room temperature briefly rather than microwaving, which can ruin texture.
FAQs
Can I make Homemade Vanilla Ice Cream without an ice cream maker?
Absolutely! Freeze the mixture in a shallow dish and stir every 30 minutes to break ice crystals until creamy, making this recipe flexible and accessible.
How long does Homemade Vanilla Ice Cream last in the freezer?
For the best taste and texture, consume within 2-3 weeks, although it will stay safe much longer if stored properly.
Can I use low-fat milk or cream instead of heavy cream?
Using lower-fat options may result in a less creamy texture; heavy cream is recommended for rich, smooth ice cream.
How do I make the recipe dairy-free?
Swap dairy cream and milk for full-fat coconut milk and your favorite plant-based milk to keep the creamy consistency and satisfy dietary needs.
Can I add mix-ins like chocolate chips or nuts?
Yes, fold them into the ice cream near the end of churning or stir gently before freezing for added texture and flavor.
Final Thoughts
This Homemade Vanilla Ice Cream recipe is truly a delight, offering creamy, delicious results in no time at all. It’s a recipe that invites your creativity and guarantees smiles with every scoop. So why wait? Grab your ingredients, follow these simple steps, and enjoy your very own homemade frozen treat today!
Related Posts
- Why Hawaiian Banana Bread Is So Irresistible
- 5 Reasons Chocolate Protein Pudding Wins Snacks
- Easy No Bake Berry Icebox Cake Recipe to Try
Homemade Vanilla Ice Cream
A quick and easy homemade vanilla ice cream recipe that is creamy, smooth, and packed with rich vanilla flavor. Perfect for satisfying sweet cravings without complicated steps or special equipment. This recipe can be adapted for various dietary preferences and is a perfect base for mix-ins and toppings.
- Prep Time: 10 minutes
- Cook Time: 0 minutes
- Total Time: 3 hours 30 minutes
- Yield: Approximately 1 quart (4 servings) 1x
- Category: Desserts
- Method: No-bake, Chilling, Freezing
- Cuisine: American
- Diet: Gluten Free
Ingredients
Base Ingredients
- 2 cups heavy cream
- 1 cup whole milk
- 3/4 cup granulated sugar
- 2 teaspoons pure vanilla extract
- Pinch of salt
Instructions
- Gather all your ingredients: Measure out heavy cream, whole milk, sugar, vanilla extract, and a pinch of salt, ensuring everything is fresh and ready to combine for optimal flavor.
- Mix the base: In a large bowl, whisk together the milk and sugar until the sugar dissolves completely, then stir in the heavy cream, vanilla extract, and salt until fully combined.
- Chill the mixture: Cover the mixture and refrigerate it for at least an hour. Chilling helps the flavors meld and allows the ice cream to churn more smoothly.
- Churn the ice cream: Pour your chilled base into an ice cream maker and churn according to your machine’s instructions, usually about 20-25 minutes, until it reaches a soft-serve consistency.
- Freeze to firm up: Transfer the churned ice cream to an airtight container and place in the freezer for at least two hours to set before serving.
- No ice cream maker? If you don’t have an ice cream maker, pour the mixture into a shallow dish, freeze, and stir vigorously every 30 minutes for 2-3 hours to break up ice crystals and achieve creaminess.
Notes
- Chill everything first: Keep your mixing bowl and utensils cold to speed up the freezing process and improve texture.
- Use pure vanilla: Choose high-quality vanilla extract or vanilla bean for authentic, vibrant flavor.
- Avoid over-churning: Stop churning once the mixture thickens to soft serve to prevent a dense texture.
- Don’t skip chilling the base: Well-chilled mixture freezes better and creates smoother ice cream.
- Store properly: Use airtight, freezer-safe containers to avoid ice crystals forming during storage.
Nutrition
- Serving Size: 1/2 cup
- Calories: 250
- Sugar: 20g
- Sodium: 40mg
- Fat: 22g
- Saturated Fat: 14g
- Unsaturated Fat: 7g
- Trans Fat: 0g
- Carbohydrates: 14g
- Fiber: 0g
- Protein: 2g
- Cholesterol: 75mg
Keywords: vanilla ice cream, homemade ice cream, easy ice cream, creamy ice cream, no churn ice cream

